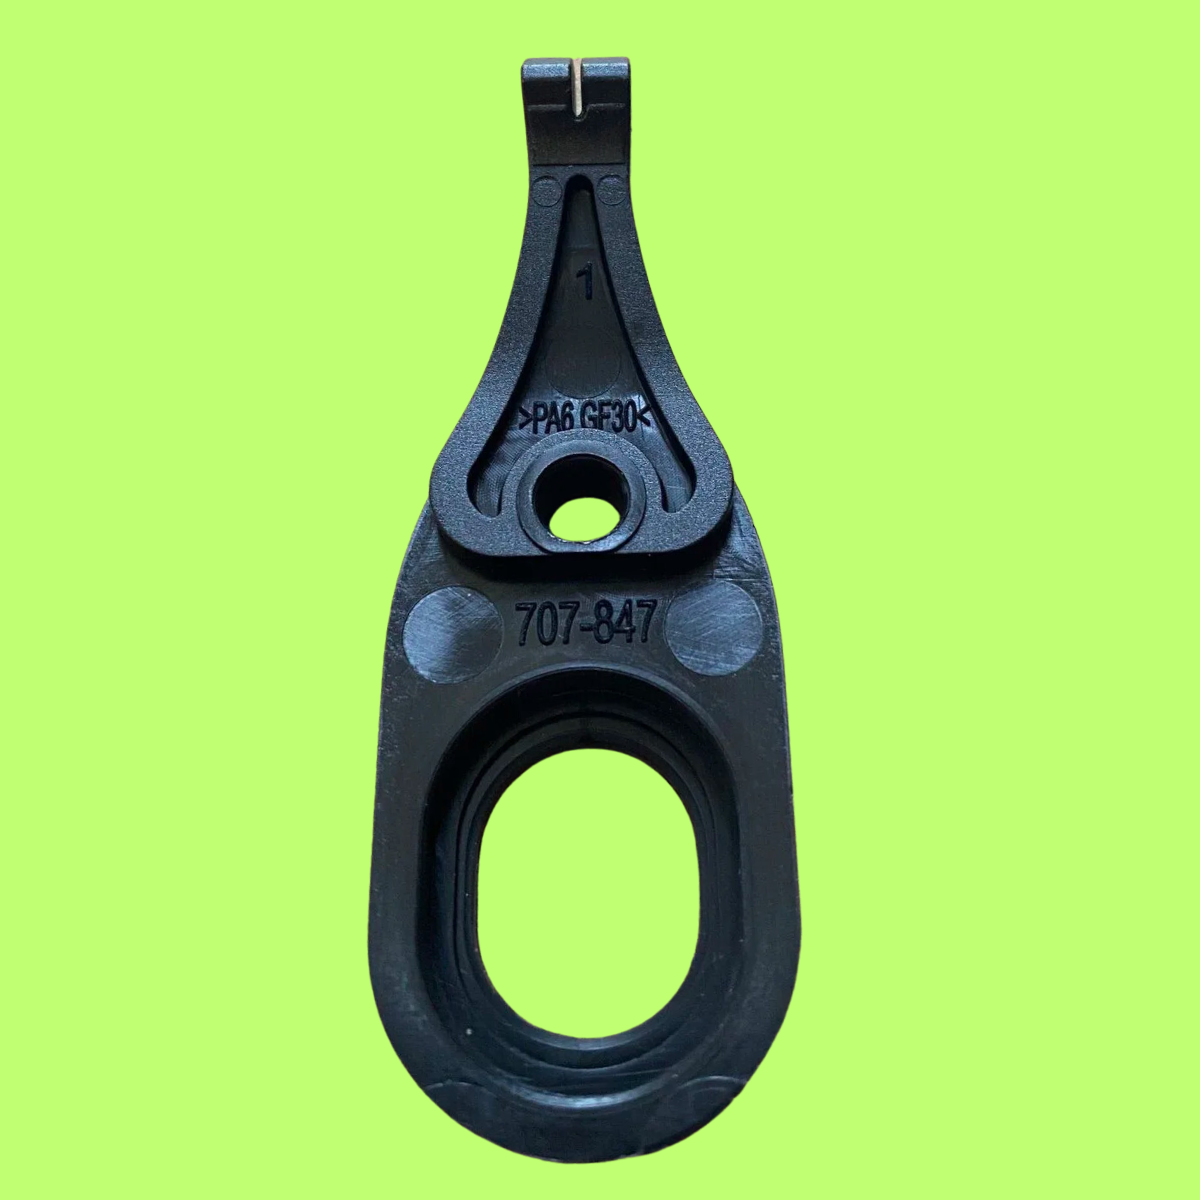
How to Change the Blade Lever in the Oster Volt Cordless Clipper
Learn how to change the blade lever on your Oster Volt clipper to avoid future problems when grooming your dog. It extends the clipper’s lifespan and can also ensures that it cuts hair effectively.
In this article, Jessie provides a step-by-step guide to help you with the process.
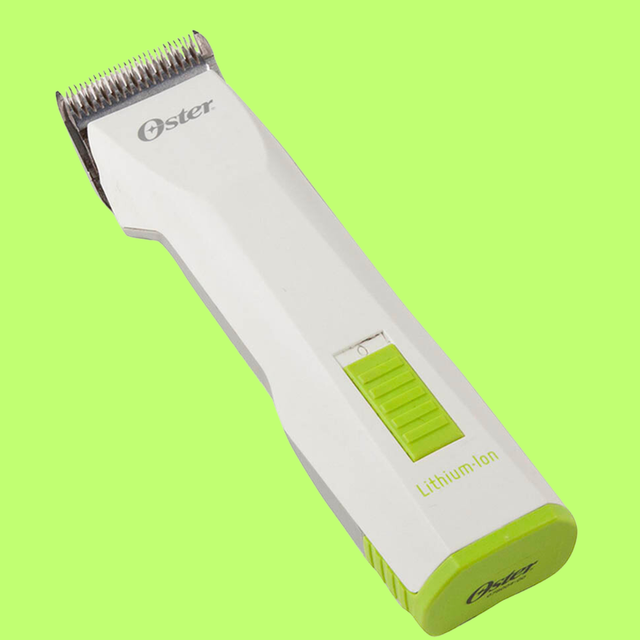
Changing the Oster Volt Blade Lever
Supplies you will need:
- Super Lube (for greasing/lubricating the blade lever)
- Oster Seal (Part #151800)
- Oster Seal (Part #151802)
- OEM Oster Volt Blade Lever (Part #151801)
Tools you will need:
- Screwdriver (I use a Torx 10 Screw gun)
Estimated time
- 2-5 minutes to finish replacing the blade lever
Disassembling the Oster Volt Cordless Clipper
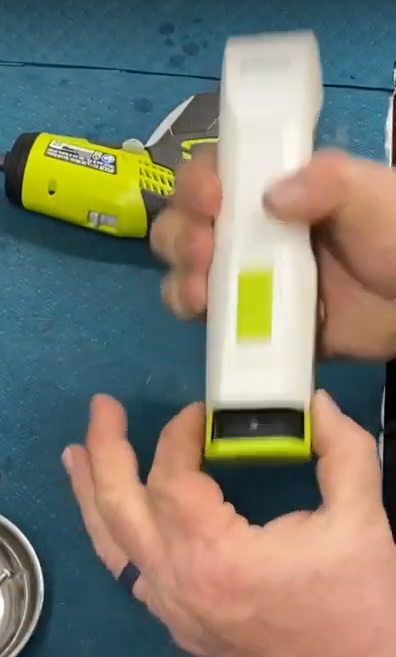
Step 1
- Take the battery off.
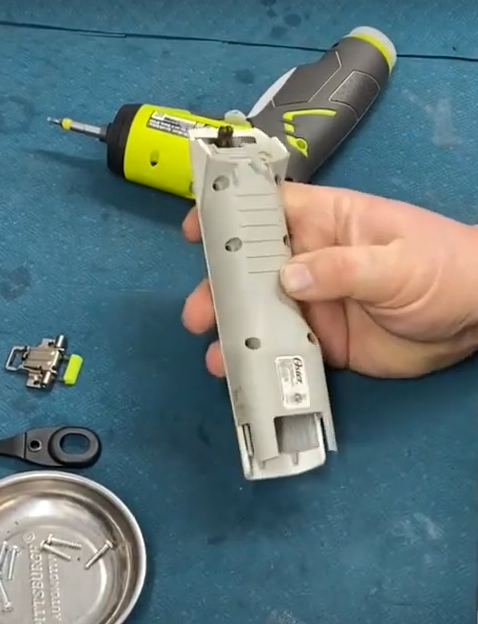
Step 2
- Unfasten all 7 screws at the bottom side of the clipper
including the one where the battery is located.
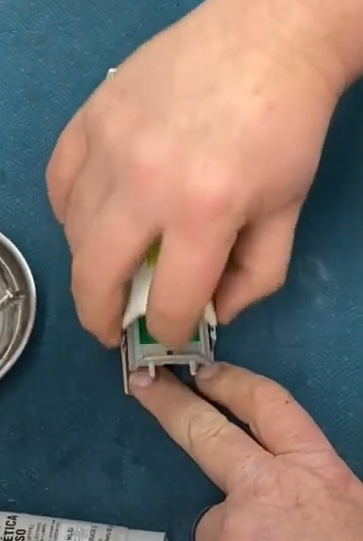
Step 3
- Remove the top case of the Oster Volt Cordless Clipper.
Step 4
- Remove the rubber seal from the blade lever.
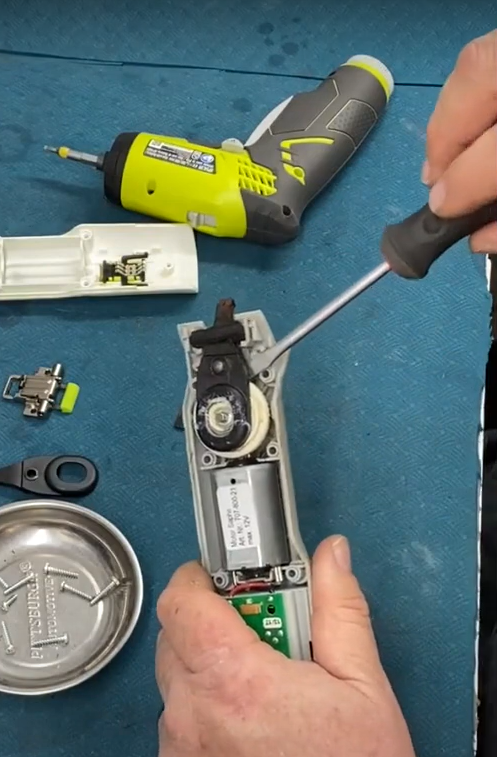
Step 5
- Remove the blade lever.
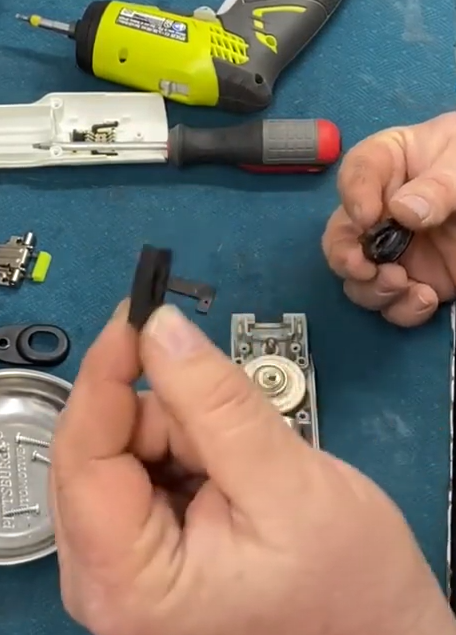
Step 6
- Remove the old foam.
Installing the New Blade Lever
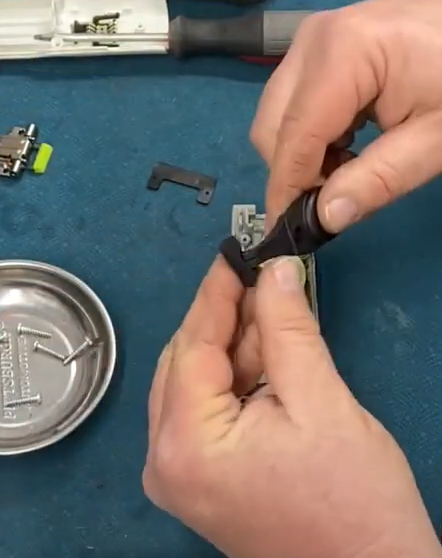
Step 7
- Insert the new foam onto the new blade lever
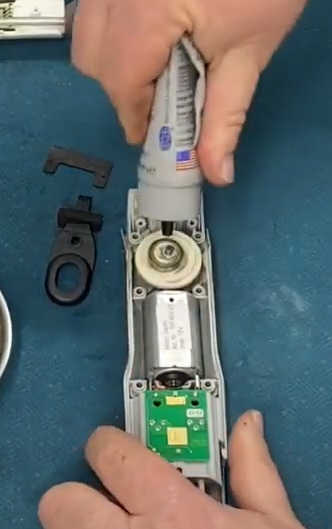
Step 8
- Apply some grease before installing the blade lever.
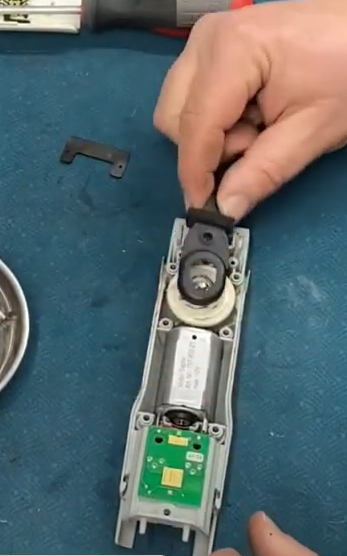
Step 9
- Install the new blade lever.
Reassemble the Oster Volt Cordless Clipper
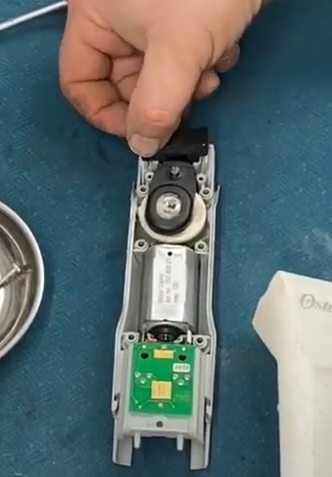
Step 10
- Reattach the rubber seal back on.
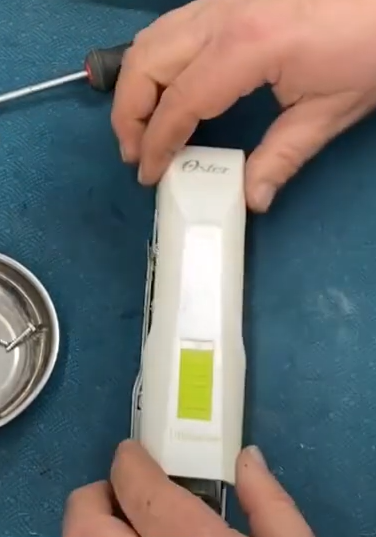
Step 11
- Put the top case back on.
- Screw the top case back on, put the battery in, then you are good to go.